Showing posts with label Tahoe. Show all posts

Saturday, September 4, 2010

Echo Lakes to Tamarack Lake August 2010


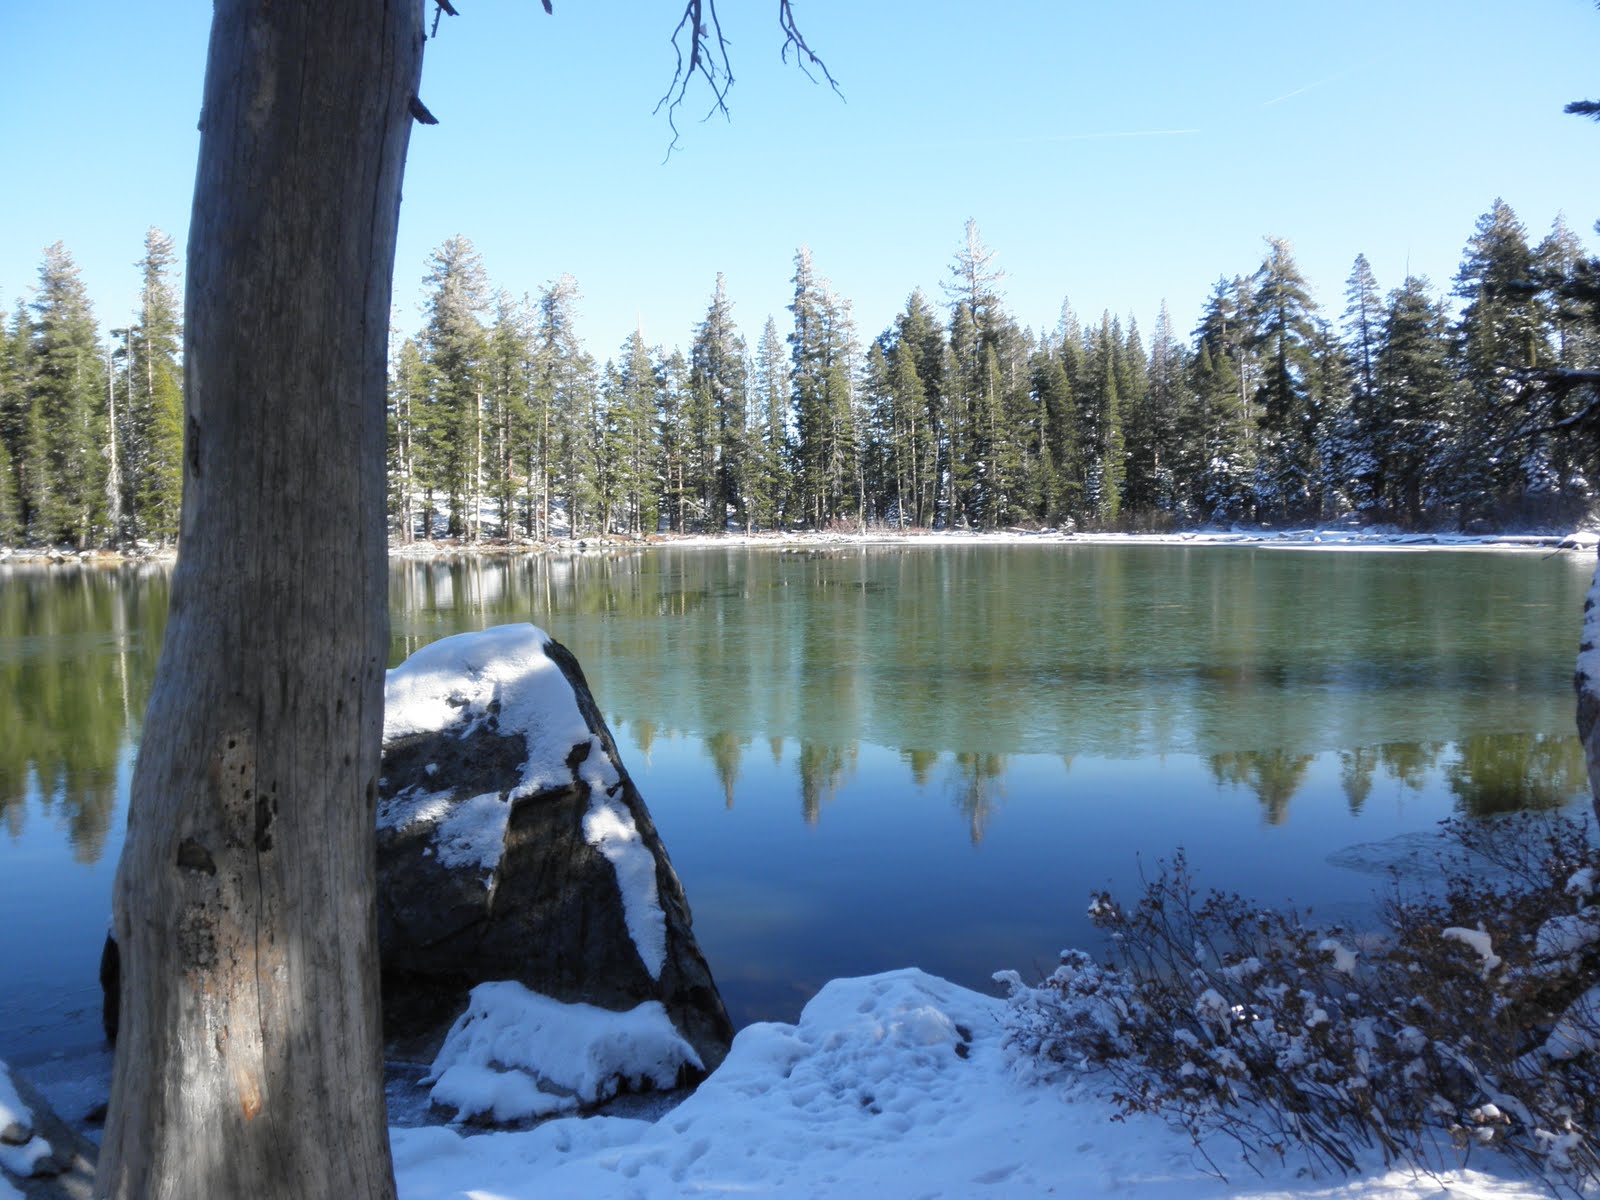
Above: a view of the snow-melt river at the side of Hwy 50 on the way to Tahoe. I had been meaning to take a picture of this river for many months, and I finally managed to do so. Since it was a clear day, I managed to capture the reflections, which is kind of cool.

On the trail: My Mum was in town for another visit, and since she's a big hiker, I took her to one of our classic Sierra Nevada hikes--Echo Lakes to Tamarack It was yet another stunning Tahoe day as we close out our summer here in Norcal: mid-70s, cloudless sky, pretty windy, however, so we held onto our hats. The wind also created significant movement on the lake surface, so no mirror lake pics this time around.

We arrived at Echo Lakes at about 10, and although it was a Friday, the parking lot was already packed. I think we found one of the last spots. The trails were steadily busy, but there was still plenty of room for everyone, with a good mix of backpackers, day-hikers, and tourists.

Before our hike, I finally had the chance to visit the Echo Lakes store, and inside, I found a good selection of groceries plus the largest selection of Echo Lakes shirts and paraphernalia I've ever seen. Pretty impressive marketing there, Echo Lakes!

We set off on our hike along Lower Echo to Upper Echo, and we both hiked steadily, enjoying the view and the sound of the wind in the trees (which preceded the cooling effects of said wind on some hot hikers).

Below: We had lunch on picnic benches, which I didn't know were there, at the top of Upper Echo Lake, to the right of the water-taxi pier (which was making a killing the day we were there). :)

Below: We finally found Tamarack, which actually isn't that hard to find if you can find the boot-beaten trail. The trail is a little elusive because it blends in with the surrounding granite boulders and flats, but the cairns are pretty accurately placed, and the lake is worth looking for.

Tamarack is really only about 400 yards from the main PCT trail, and it's a sweet quiet little alpine lake--a nice break from the 'hub-bub' of the main trail. :) It seems like a great place to swim if you're so inclined.


Stats:

  • Temp: mid-70s, cloudless
  • Distance: Echo Lakes (Upper to Lower to Tamarack)
  • Drive-Time: About 90 mins from home, off 50.
  • Trail: a good mix of dirt, jagged granite rock gardens, and loose shale, much in the shadow of granite walls on one side and stunning lake views on the other.


This hike was my third hike to Echo; look here for my first (to Aloha) and second.

I typically try to explore new places with each hike, but Echo keeps drawing me back. I think next time, I'll take the water-taxi, and then use the additional miles savings to explore further in the back country--Jabu, for example, comes to mind along with more of Aloha.

Thursday, July 15, 2010

Loch Levin/Salmon Lake


Yes; Salmon Lake really was that beautiful. Lower Loch Levin is stunning also. Read on. :)

This week, I went up to Tahoe for a hike with my son. It was his first hike with me, and he did a great job--enthusiastic and interested from beginning to end. Very cool.

We went to the Loch Levin group of lakes (Upper, Middle, Lower, and Salmon) because:
  1. I love glacial lakes, and I thought my son would like them too,

  2. this hike had four lakes from which to choose,

  3. the trail was relatively low elevation and so little chance of losing it due to snow.

Below: At the trailhead, Loch Levin trailhead signage is a little subtle; it's a tiny wooden sign opposite a parking lot, clearly a trailhead parking lot, near the Big Bend turnoff on 80. Follow the signs to Big Bend, and then, once at the parking lot, look on the mountain side of the road for a tiny wooden sign.


The hike starts out with a fairly rigorous granite trail, plenty of uneven terrain and loose rocks, and the cairns (and the map/compass) proved invaluable in helping us keep on the trail in the early stages.

Below: The trail offers you a variety of terrains upon which to hike; pretty early on, a small section with a lush fern covered forest offers needed respite from the granite sun exposure, railway tracks to cross, dried loam, some damp riverlets, and (mostly) fairly rugged, uneven, loose granite. Below is an example of the granite/riverlet erosion type of trail you'll encounter on your way to Loch Levin lakes.


Fairly quickly, you come to a pretty good sized creek with a small but musical waterfall, and a paddling hole my son deemed to be the 'best swimming hole in the world.' It's worth pausing to see this little water wonder in the middle of all the granite. You don't have to cross it, but if you come during snowmelt time, it's worth watching for a few minutes.

About the railway tracks; they're 1.25 miles, and it's a fairly busy train track. Just keep your eyes and ears open to avoid tragedy.

We placed a quarter on the track on the way up to see if we could find it again upon our return. (No luck; I think it flew off to the side somewhere under the weight of the train.)

Apparently, the train tracks were built by hand in the 1860's by Chinese laborers. They're still a major thoroughfare today for train traffic.

Below: My son enjoying his well-deserved lunch on a granite slab at Lower Loch Levin. It's a fairly steep trail from the tracks to this lake; you'll climb from 6000 to 6800 feet in 1.25 miles.


We had the lake to ourselves for lunch. We bumped into perhaps six total other hikers during the entire hike. The trail gets much busier on weekends, but on weekdays, it seems to be a secluded pretty little spot to enjoy.

On our way up to the lake, we did see an unaccompanied brown lab, busy and intent on his way back down the trail. No owners in sight, however, and no inquiries about a lost dog, so quite the puzzle.

Below: Another view of Lower Loch Leven: you can see water lilies and some leaves on the surface of the lake.


Below:: Just past the end of the lake, you'll see a sign indicating the way to Salmon Lake and to both Middle and Upper Loch Levins. You can see that the three lakes are very close together.


My son, however, chose to go to Salmon Lake, not on this sign although there was a clearly established use-trail to the left of the trail here, and so off we went to Salmon Lake--our ultimate destination and well worth a visit. As always, glacial lakes are stunning, and I had heard good things about Salmon, and I was looking forward to seeing it with my son.

Plus, it turns out that the lake has lots and lots of bouldering for an active teen. :)

Below: My son noting the number of catfish in Salmon Lake.


I think Salmon Lake's worthwhile-ness gets a little lost in the Loch Levin discussion sometimes, but it's a beautiful granite lake, and it's surrounded by views ranging from Castle Peak and Donner to the northeast and a stunning view of a baisin off to the southeast.
I highly recommend you try it out on your way to the other Loch Levin lakes. Visiting Salmon adds 1.8 miles round trip to your hike.

It's also fun and beautiful place to sit on a granite overlook with a decent map to try to figure out the surrounding landmarks, and its beauty (and close access to the Loch Levin lakes) really deserves a visit.

Stats:
  • Time from Truckee (we stayed up here last night): about 30 mins

  • Time from Reno: about 60 mins

  • Time from home: about 90 mins (highway 80).

  • Weather: stunning--mid 80s, no wind, blue sky. Take sunblock and a hat since much of the trail is exposed.

  • Trail: no water at trailhead, so be prepared.

  • Elevation Change: 5,680 to 6,850 (1,070 feet)

Distance:
  • Trailhead to rail tracks: 1.1 miles
  • Trailhead to Lower Loch Levin: 2.5
  • Trailhead to Salmon Lake Trail: 2.6 mile
  • Salmon Lake Trail to Salmon Lake: 0.25 mile
  • Exploring Salmon Lake granite: 1 mile

Total mileage: about 6.7 miles
Spending time with my teenage son: priceless

Trail notes:
  • Hiking poles a must--lots of loose granite, lots of granite scrambling.

  • Sunblock, hat, and bug repellant also highly recommended.

  • Arrive before 9 or 10 on weekends to get a parking spot; only about 10 spots total.

  • The water was very swimmable in both Lower Loch Levin and Salmon Lake. We saw a requisite elderly skinny dipper at Salmon Lake--carrying his swim trunks. Sigh.

Want to know more about the Loch Levin trail? http://www.fs.fed.us/r5/tahoe/documents/rec/LochLevenROG.pdf

Sunday, July 11, 2010

Peter Grubb Hut and Sand Ridge Trail


I've been meaning to hike to the Peter Grubb Hut since last year's Castle Peak hike, and so this week, I finally made it up there. My son and his friend wanted to go snowboarding (in July!) at Boreal, so since Boreal was open this weekend, with a thin ribbon of snow, I dropped them both off there and then I hiked up to the hut.

See that ladder leading up to the front door? I've seen pictures where that ladder is hidden by snow. :) Nothing like that amount of white stuff on this hike, however. Pretty amazing that such a large amount of snow is a regular occcurance, however, to make that ladder necessary.

Below: Ever wondered what the inside of the Peter Grubb Hut looked like? I had, so I climbed the ladder and peaked in.


Pretty basic--nine mattresses and a wood-burning stove. It's meant as a shelter for backpackers and PCT thru-hikers, so the idea is that you'll have all your stuff with you. I can imagine that it seems heavenly to early season thru-hikers, struggling with snow and winter backpacks.

Want to know more about Peter Grubb?
Want to know more about the hut and how to make reservations?

Back to the hike itself, however:

My intended route was to go north on the PCT to Peter Grubb and then to go west and then south on the Hole in the Ground Trail to climb Andesite Peak. The Hole in the Ground trail was completely socked in with snow, however, . . .

. . . so instead I joined a friendly group of hikers from Nevada in their search for Sand Ridge Lake.

A Note About This Year's Trail Conditions: The last few Tahoe hikes for me have been a mixture of pretty soggy and pretty snowy (and consequently pretty hidden) trails, so I was expecting more of the same this week. These types of trail conditions make for interesting hikes with lots of opportunity for map/compass work, yet I'm still looking forward to clear trails later this summer.

No clear trails this week either, unfortunately. It's still a little early in the Tahoe hiking season, particularly since we had a late (and large) snow storm in June. I think most trails will likely be clear in three weeks or so at the earliest.

Below: So--sometimes the trail looked like this--a little soggy in places with plenty of small and large creeks to cross, but very workable.


On the way to Peter Grubb, you climb over the Castle Peak/Pass junction to rejoin the PCT (which leads to the hut) on the north side of the trail junction; plenty of folks there at the junction, regrouping and what-not, but several noted that the Castle Peak trail was still fairly snowy. Not too surprising since it's at 9013 feet at the peak. The trail junction, below, is at 7880 and was free of snow, mostly because it's a south facing area.


Below: for about a quarter of a mile, just past Castle Peak junction but before you reach the hut, the trail looked like this: large snow drifts, hard packed but slippery and slushy.


No trail in sight for about 3/4 mile, but we had plenty of footprints to follow (including a rather large feline print--retractable claws). We just trusted in the human prints and followed them to wherever they were going to lead us--hopefully to the hut.

As usual, hiking poles were essential on this hike. They saved me from slippery falls, and they helped lever me up and down the slippery snow slopes. They helped me jump over big and small creeks, and they helped me work my way up and down the trail.

Below: As we explored past the hut looking for the Sand Ridge Trail west of Round Valley, we left the snow banks and crossed several meadows--pretty boggy at this time of year but definitely beautiful valleys through which to walk. Remember to bring your bug repellant!


Below: in the meadows, we found these weird soil cylinders, not hollow and obviously created by some kind of bug, mole, vole? Some had a few ants crawling around, but none were obviously infested with any type of bug that we could see. Very odd, I thought, but cool.

Since we wandered off the trail multiple times, due to snow banks covering the trail along with unexpected ponds and large puddles, even with a GPS and map/compass, we couldn't find Sand Ridge Lake, but we did find some beautiful views.

Below: here's a granite rock garden on the part of Sand Ridge Trail we did find.


Below: this small snow bank covering the trail illustrates perfectly why you want to avoid walking in the middle of any snow bank in spring time.


See that snow arch above? If you walked on it, you could fall through that structure at any time and end up with an embarrassed grin and wet feet (best scenario) or a grimace and a broken leg (worst scenario).

So--ultimately, I did make the hut, which wasvery satisfying, but I didn't make any other particular destination--not Sand Ridge Lake nor Andesite Peak.

That's ok, though; the goal was to have a long hike at altitude in beautiful surroundings on a great day. I had all that and more--I was fortunate enough to find a welcoming hiking group that allowed me to traipse along with them for the majority of the day.

Hiking stats:
  • Drive time: 1.5 hours or so from home
  • Weather: stunning--blue sky, sunny, low 80s.

Gear notes:

  • Bring mosquito repellant and, at this time of year, wear waterproof boots. (If you haven't re-waterproofed your boots this season, now is the time to do so. :) I'm going to do mine tonight.)
  • Wear gaitors (ankle height gaitors are fine), not so much to keep the rocks out but more to keep any errant water out on creek crossings.
  • On snow-covered trail days, consider bringing chalk to blaze a tree to help you find your way back.
  • Bring hiking poles--not only do they save your knees on hills (up and down), they can also save you from a wet fall on slippery snow and rocks (on creek crossings).
  • As always, take a detailed trail/topo map, particularly in possibly snowy/creeky conditions. Know how to use the map with a compass. The group's GPS ran out of batteries half way through the hike. I used the National Geographic Tahoe National Forest (Sierra Buttes/Donner Park #805). It worked really well.

Distance:

  • Jeep trail to PCT: about 2.2 miles
  • PCT to Peter Grubb: about 1 mile
  • Exploring the valley and looking for the trail: about 5 miles

Total mileage: (jeep trail to PCT to Peter Grubb to Sand Ridge to Peter to PCT to jeep trail to car): about 10 miles.

Future hiking plans for this area:

  • hike from Castle Peak along use trail on ridge to Baisin Peak. Come back along Sand Ridge Trail to bag Andesite Peak. That would be a three peak day and still only about 12 miles or so.
  • hike to Paradise Lake which looks stunning.
  • hike to (and find) Sand Ridge Lake
  • explore PCT south of Boreal and hike to Mount Judah and back (8-9 miles round trip)

Sunday, June 20, 2010

Cascade Falls and Granite Lake, Lake Tahoe, June 20 2010


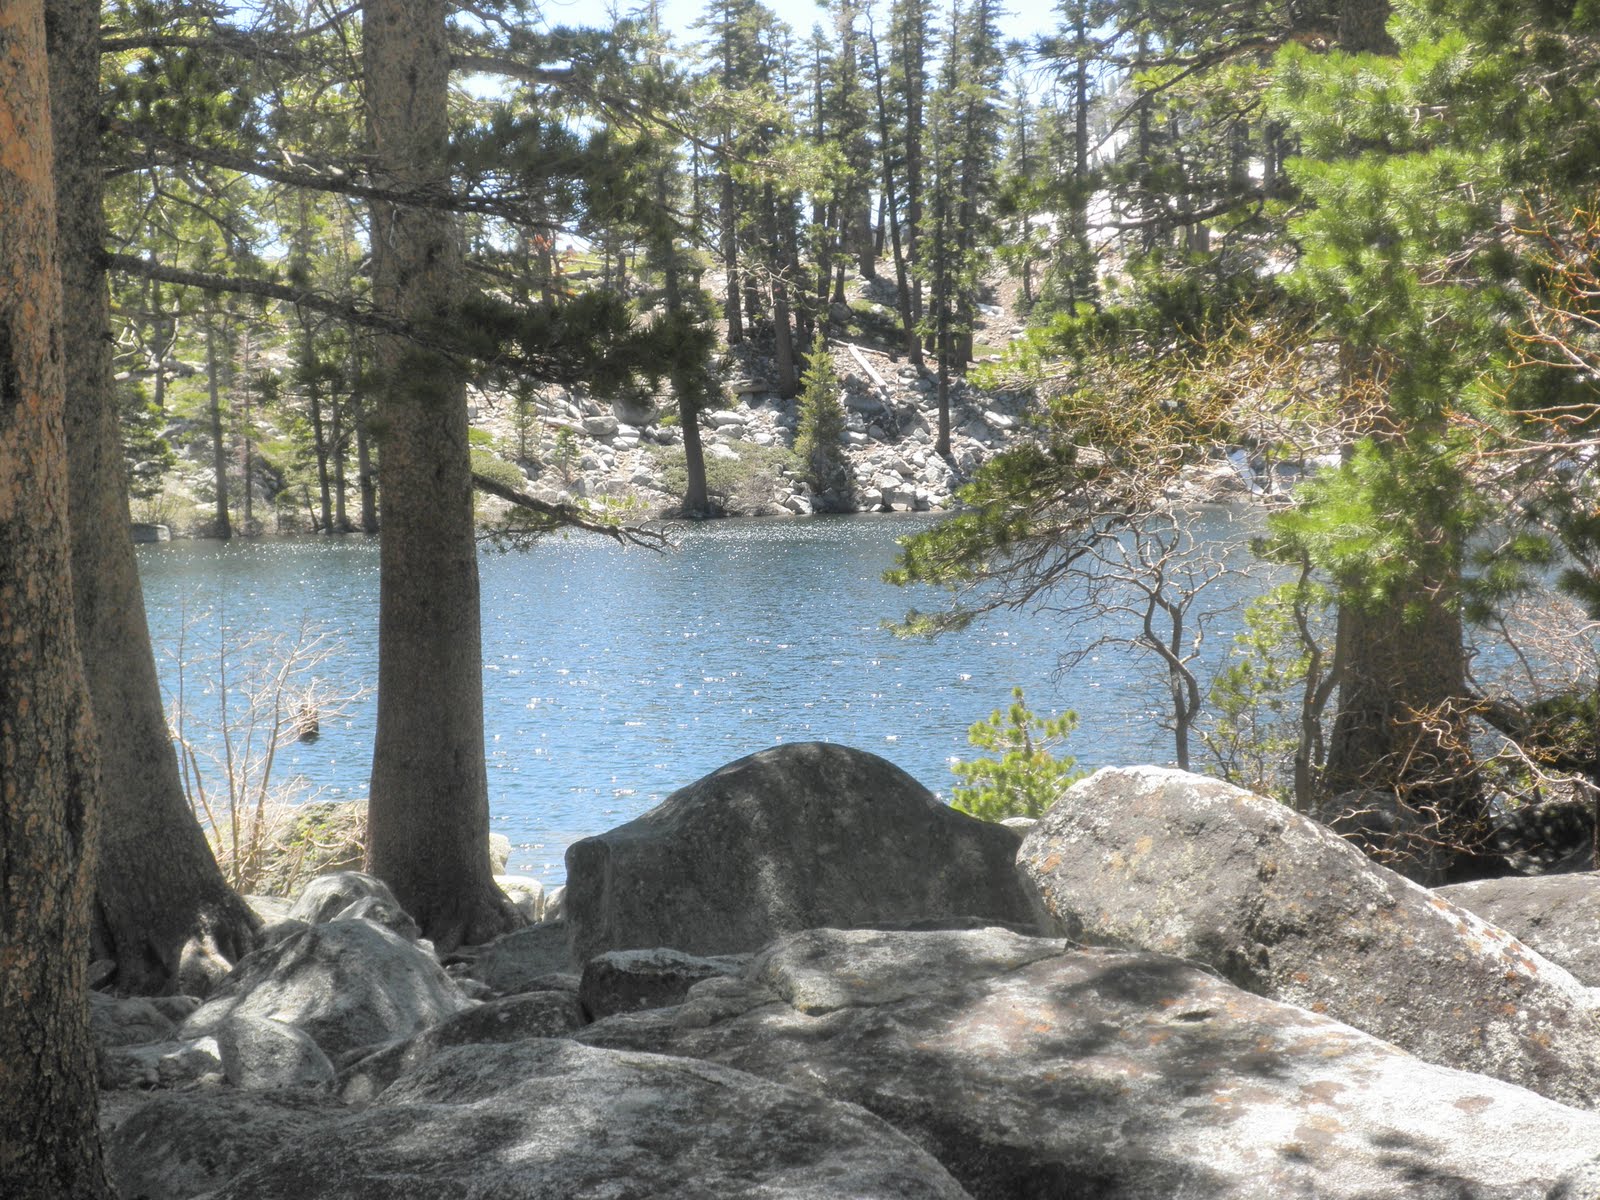
Above: a great pic of Granite Lake--a small but beautiful, granite glacial baisin lake in Desolation Wilderness, opposite Emerald Bay Campground.

Wow. What a stunner today's hike was. It was one of those "hard to believe we were there" type of hikes. Off we went, then, to Granite Lake and Cascade Falls--an easy and beautiful combined hike to do on such a beautiful, early summer alpine day.

Below: our choice in trails at the trailhead.


A note about permits: "Desolation" (on the sign above) stands for, of course, "Desolation Wilderness." You'll need a Desolation permit to go to Granite Lake; you don't need a permit for the Cascade Falls hike (because it leaves Desolation Wilderness).

The permits are usually available at the trailhead, and 12 people can go under any one day permit; if you want to backpack or stay out longer than a day, you need to go to the Ranger Station at Pollock Pines or Mill Run to get your permit there.

I went to the Ranger Station on the way to the hike and picked up a few spare permits for the hikes when you need a permit, but there are none at the trailhead. I also found some great Desolation Wilderness maps which should come in handy on future hikes. It's fun to discover exactly where you are on the map and then be able to identify, with some certainty, the peaks surrounding your position. That way, you can also have a good idea of your elevation too. All good data to have, I think.

We went to Granite Lake first; we'd heard it was the harder trail, but it really wasn't. It was a good starter for the day--dirt trail with a few rock scrambles here and there. A relatively easy warm up, and although its length is not intimidating, if you add in early exposure to altitude and an unpredictable knee, it was a decent workout, after all.

This trail was not very crowded--we saw perhaps two or three other groups along the trail total--despite the huge crowds around the area. This place is a great secret to have. :)

This trail is not a flat trail; expect a steady periodically steep elevation gain which, combined with some altitude of 6600-7800 or so, can make for a decent workout.

Below: Trudging up the Granite Lake trail: you can see it's fairly steep in places.


Granite Lake was worth the hike and elevation gain, however. First, we had some stunning views of Emerald Bay itself.

Below: Here I am at one of the views over Emerald Bay.


Below: the slope you see on the left of the pic below, beyond the bay, is the lower elevations of Jake's Peak:


And then we had the beauty of the Granite Lake itself--pretty much deserted, despite its proximity to Emerald Bay, one of the most popular places in California.

Below: a view of Granite Lake through the trees. . A few patches of snow here and there, but for the most part, the snow remains only at around 7800+ feet, and even then, mostly in patches, depending on sun exposure of the slope.


Below: A picture of the hiking group at Granite Lake--a great bunch of friendly, fun folks. I was happy to hike with them.


Below: Weird and wonderful star-like/angel-like pine cones, sitting at the top third of a tree near Granite Lake:


So--once we'd completed the hike to and from Granite Lake, we lightened our loads into the cars and then set out again, this time off to the left at the trailhead, toward Cascade Falls.

Below: Our first view of Cascade Falls, along the trail: they were bigger than I expected, and with the recent snow-melt after such a snowy winter, they were magnificent.


Below: the trail to Cascade Falls was mostly craggy, granite blocks and steps--similar to Echo Lakes type of terrain. Sometimes it was flattish granite slabs, however, as you can see below:


Below: A birds-eye view of Cascade Lake from the top of the falls. There's an impressive house far down on the lakeshore--we were hoping for a spontaneous BBQ invite, but no dice.


Below: Not a bad place for lunch--right at the side of the falls, in the alpine sunshine, listening to the sound of the water rushing down the mountain.


Below: A view of the side of Mount Tallac from the falls--we pass the Tallac trailhead driving to Bayview Campground.


Below: view of Freel (Peak (right) and Job's Sister (left) from the top of Cascade Falls: the group will be hiking to Freel later this summer--9 mile route on the right slope, 11 mile on the left slope. I think the group will be doing the 9 mile route.


At the top of the falls, we saw a web of multiple small feeder creeks, all going down, of course, to the falls, and beyond the creeks, we saw some intriguing open granite slabs, typical of Desolation Wilderness terrain. We, of course, wanted to explore further (and escape the crowds a little), and so we experimented with crossing the creeks until we found a log stable enough (already in the creek) to cross without too much peril.

Once over, we happily explored the granite slabs, resilient plants, the feeder creeks, tiny falls, and magnificent views. It's much less crowded once you make it over the creeks, and I felt as if I were in a National Geographic Special. The views continued to be amazing everywhere I looked.


Below: Crossing the creeks:


Below: Me on the granite slabs, once we'd crossed the creeks.
You can see the side of Mount Tallac in the background:


Stats:

Trailhead: Bayview Campground: 6880 feet elevation

Granite Lake: elev: 7670 feet.

  • 1 mile each way--dirt trail with few rock scrambling areas. Mostly shade
  • Relatively high use trail--expect to meet someone about every 10 mins.
  • Temps: low to mid 60's, but out of wind, warm. In wind at lake, chilly, but still sunny.


Cascade Falls: elev: 6550 feet
  • 1.75 mile each way--plenty o' rock scrambling, similar to Echo Lakes trail.
  • High use trail, but worth the crowds and, once there, you understand why people go there. Expect to meet someone every five minutes.


Total mileage: 5.5 miles
Elevation: between 6550 and 7670.
Drive from home: about 1 hour 44 mins

Both lake and falls are accessible via the Bayview Campground, opposite Inspiration Point Trailhead, just past Emerald Bay Campground on SR 89 North and past the Mount Tallac trailhead and Fallen Leaf campground.

To get to the trailhead, park at the back of the Bayview Campground, but arrive before ten to get a space. Other spaces are available on the side of the road, but it's a very popular area, so get there early (ie before 9:30 or 10am) on weekends or go on a weekday to avoid crowds and get a safe space.

The trail beyond Granite Lake seemed really snow-bound still. Future hikes include the Velma lakes and possible Eagle Falls (although those falls look incredibly crowded).

This hike was a mixture of Trail #28 and 29 in Top Trails Tahoe.

All in all, a stunner of a hike. Well worth the trip. It's not a long hike, but I felt pretty worked out at the end of it, and because it wasn't a huge number of miles (only about five), I got home at a decent time--with enough hours in the day left to write this blog entry. :)

Monday, March 29, 2010

Sugarbowl Snowshoeing


I finally went snow-shoeing up at Tahoe; the stars aligned, the weather was good, the roads were clear, as was my schedule, and off we went.

We had originally determined that we would drop off my son at Sugarbowl for a back-country training class and then we would go to Royal Gorge, which is right next to Sugarbowl, for snowshoes and trails.

At Sugarbowl, however, we learned that we could rent snowshoes from the resort and use their trails without a trail pass. Since they have about seven kilometers of trails, and since we did Smittle Creek yesterday, and since I'm kind of resting my knees, we decided to go low-key today and just stick at Sugarbowl for snow-shoeing.


We were walkig on a groomed trail for the most part, and we probably didn't actually need snow-shoes on that area since the snow was pretty compacted.

We explored off-trail, however, and then we understood well the benefits of spreading weight distribution as we floated along on the surface of what was actually feet deep snow. It was a great experience to see how it all worked so well.


Another cool part of snow-hiking is the easy visibility of animal tracks--coyotes, mice, other critters. It was neat to see the animal highways that are there year-round yet only visible during snow-time. I had my animal track identifer card with me, so that helped us get a feel for the critter tracks.

Below: Our tracks on the meadow near Royal Gorge trails:


On the groomed trails, we were walking on crunchy snow, so our steps were surprisingly noisy as we crunched along. I think, as with all snow sports, the snowshoeing experience is pretty snow-dependent. Powder would probably have been quite different in terms of sound, I think.

I did notice that the snowshoes, while not exactly heavy, did add some additional weight to each step, and so the guideline that four miles of snowshoeing is like five miles of hiking is pretty accurate. I found the snowshoes worked the front of my ankles in a very different way to hiking; I didn't realize I could get stiff there. :)

Additionally, the weight of the snowshoes can impact the fit of your hiking boots--or at least they pulled the back of my boots back and forth creating a heretofore never experienced hot spot on my heel. Still, a Compeed bandaid solved that problem.


Would I snow-shoe again at Sugarbowl?
Pros:

  • The groomed trails worked well for the trip; I was with another novice, and we hadn't snow-shoed before, and we wanted to experiment before going futher afield.
  • Easy access to trails and rentals (which were reasonable--$15 and no trail pass costs)

Cons:

  • The trail is right next to a well-used freight railroad for the most part (or at least the trail we were on), so you didn't get a feeling of isolation which is, for me, part of the hiking/being outside experience.
  • The snowshoes seemed rather heavy, but it's possible it may just have been that brand (Tubbs); I need to try a different brand to be sure about this part.

So--while I would snowshoe again, I think, I would instead I would try a different brand by renting from REI or somewhere and then perhaps go to a trail such as Castle Pass or Echo Lakes instead of a resort, and get a more isolated experience.

All in all, however, a great beginning to the snowshoe experience.

Weather: bluebird--bright sun, low 50s, little wind.

Stats:
Sugarbowl Trailhead--Tramway--Summer Road---Lincoln Highway--Castle Creek (out and back): 8 kilometers--about 4 miles?

Sunday, November 15, 2009

Summit Lake, Tahoe, Nov 14 09


Pic above: Very Narnia, wouldn't you say? This is a pic of early in the hike, going along the Castle Pass PCT Trail. Stunningly beautiful, I thought, and quiet, quiet, quiet. Just the crunch of my boots and the rustle of my pack.

Weather: a stunning "blue bird" day, as the snowboarders say: sunny, low 40s, no wind, no clouds, just plain ol' gorgeous. A great day to explore winter hiking with new gear.

Stats: The Top Trails book suggests starting this hike at the Boreal PCT trailhead, but that trailhead charges you snow-park parking rates after Nov 1, so I parked instead across 80 (well, under 80) at the Castle Valley Road trailhead. It added about 2 miles to the hike, but I wanted to do a longer hike anyway.

There's an I-80 rest-stop on the Castle Peak side of 80 just before you get to Boreal exit. There's no unattended cars allowed at that stop, however. Instead go to the PCT trailhead (if before Nov 1) by Boreal, and park there instead. The PCT start makes the hike a little over four miles.

If it's past Nov 1, then just drive under the freeway at the Boreal exit, and then park along the side of the Castle Valley Road; then you can walk up the (dirt) road a mile or so to the junction with the Donner Lake Rim Trail (off to the right through a meadow). The Castle Valley start made it 6.5 miles--perfect. 3 hours with only a few photo stops and one or two changes in trail plans along the way.

Gear: Since it was my first real winter hike, I was anxious to see how the gear would perform: Keen Waterproof Targhee II Cross-Trainer shoes, OR low gaitors (with red straps), REI Mistral pants (waterresistant, windproof, softshell), base layers, synthetic t-shirt, light fleece, REI Mistral soft-shell, SmartWool beanie, Swix gloves, handwarmers.


Poles were really helpful on this hike in particular; they helped me decide which piles of snow were just snow or instable rock or stable rock--all of which were helpful pieces of info when crossing small streams and rockbeds along the way.

I started out the hike in all the gear but, as I warmed up, spent most of the day in just the fleece and base layers on top; all of the gear worked splendidly, and I learned that, with the right gear, a sunny snow day-hike can be really great.

My feet were warm and dry in the Keen shoes, with no hotspots whatsoever, and the gaitors worked out very well keeping the snow away from the tops of my shoes. I only have low gaitors, and I was in 4-5 inch snow; the knee high gaitors, I think, could be overkill for most day-hikes; perhaps they're for mountaineers. Of course, I didn't explore Castle Peak with snow, so who knows?

Handwarmers and good winter gloves made my hands and fingers sing for the first half of the hike (when I no longer needed gloves); chemical hand-warmers last about seven hours and weigh next to nothing; they're well worth bringing along.

Pants were very comfortable (wind proof, water resistant, soft shell with fleece lining) although I realized that I need a belt to keep them exactly in place as the hike progresses.

Below: the view from early in the hike on the Castle Pass PCT trail: while tiny parts of the hike was on wet trail, most of the hike had snow around 4-5 inches, a mix of icey crunch and powder--delightful and a great workout.


Below: pix of Summit Lake--summit to see, indeed. Not another soul in sight, no critters to be seen or heard, just me and the lake and the sun. Wonderful. It's not that high a lake by Tahoe standards, and it's not a huge one either, yet it's still worth the hike.


Below: The hike is quite well-signed, with periodic small Donner Lake Rim Trail signs affixed to trees as a comforting touch. I always take with me, though, a xerox of the map from Top Trails, just in case the posted signs don't mesh with my expectations.


On the way back to Castle Valley from the lake, there's a three way junction about 2 miles from Summit Lake; at that three way junction (one to the I-80 rest-stop, one back to Summit Lake, and one to Castle Pass), take the Castle Pass trail to get back to your car on Castle Valley Road.

I learned also that on snow-covered trails, it's good

a) not to be the first person on the trail since the snow fell and

b) you have to believe that the footprints into which you're treading (cue King Wencelas from the carol) are going to your destination. It pays to pay attention to surroundings, of course, to ensure that the footprints are heading at least in a feasible direction. You don't want to follow a crayzee off trail person, after all.

Ponderings about the hike:
It wasn't deep enough for snow-shoes although I can see how snow-shoes will be fun. That's definitely for my to-do list--try snowshoeing this year.
The trail is as close to Boreal as you can be and not be at Boreal. Very convenient if you have skiers/boarders in the family but you don't ski or board. No snowshoe or X-country at Boreal, but there is some X-C at Royal Gorge which is only a mile or so away from Boreal. Hiking always available at Castle Pass, however.
I can see how crampons (or some kind of additional grip sole for boots) could come in handy going up a steep hill--Castle Peak, say, or Ralston.

It's fun to look at animal tracks in the snow; I saw several coyote print trails and lots of smaller animal trails along the way. Cool.

Next Boreal day-hike is Peter Grubb hut.

More info about Summit Lake: http://gorp.away.com/gorp/resource/us_national_forest/ca/tahoe_trails/summitla.htm